Pages

Showing posts with label Tim Holtz. Show all posts

Friday, 29 December 2017

home for the holiday

It's been almost a year since my last post.  2017 was not my most favourite year.  In fact, I would classify it as challenging - extremely challenging - and not the fun kind of challenging.  Just challenging.  

I decided pretty early on in the year that the blog was not getting as much traffic as my Instagram account and, at this time, Instagram is a better fit for me.

The issue: entering craft challenges.

I don't mind breathing life back into the blog to use it as a platform for craft challenges.  It is fun to look around the corner to see what I have done over the years.  Kind of like a digital journal but a lot less messy.  In a fun way.


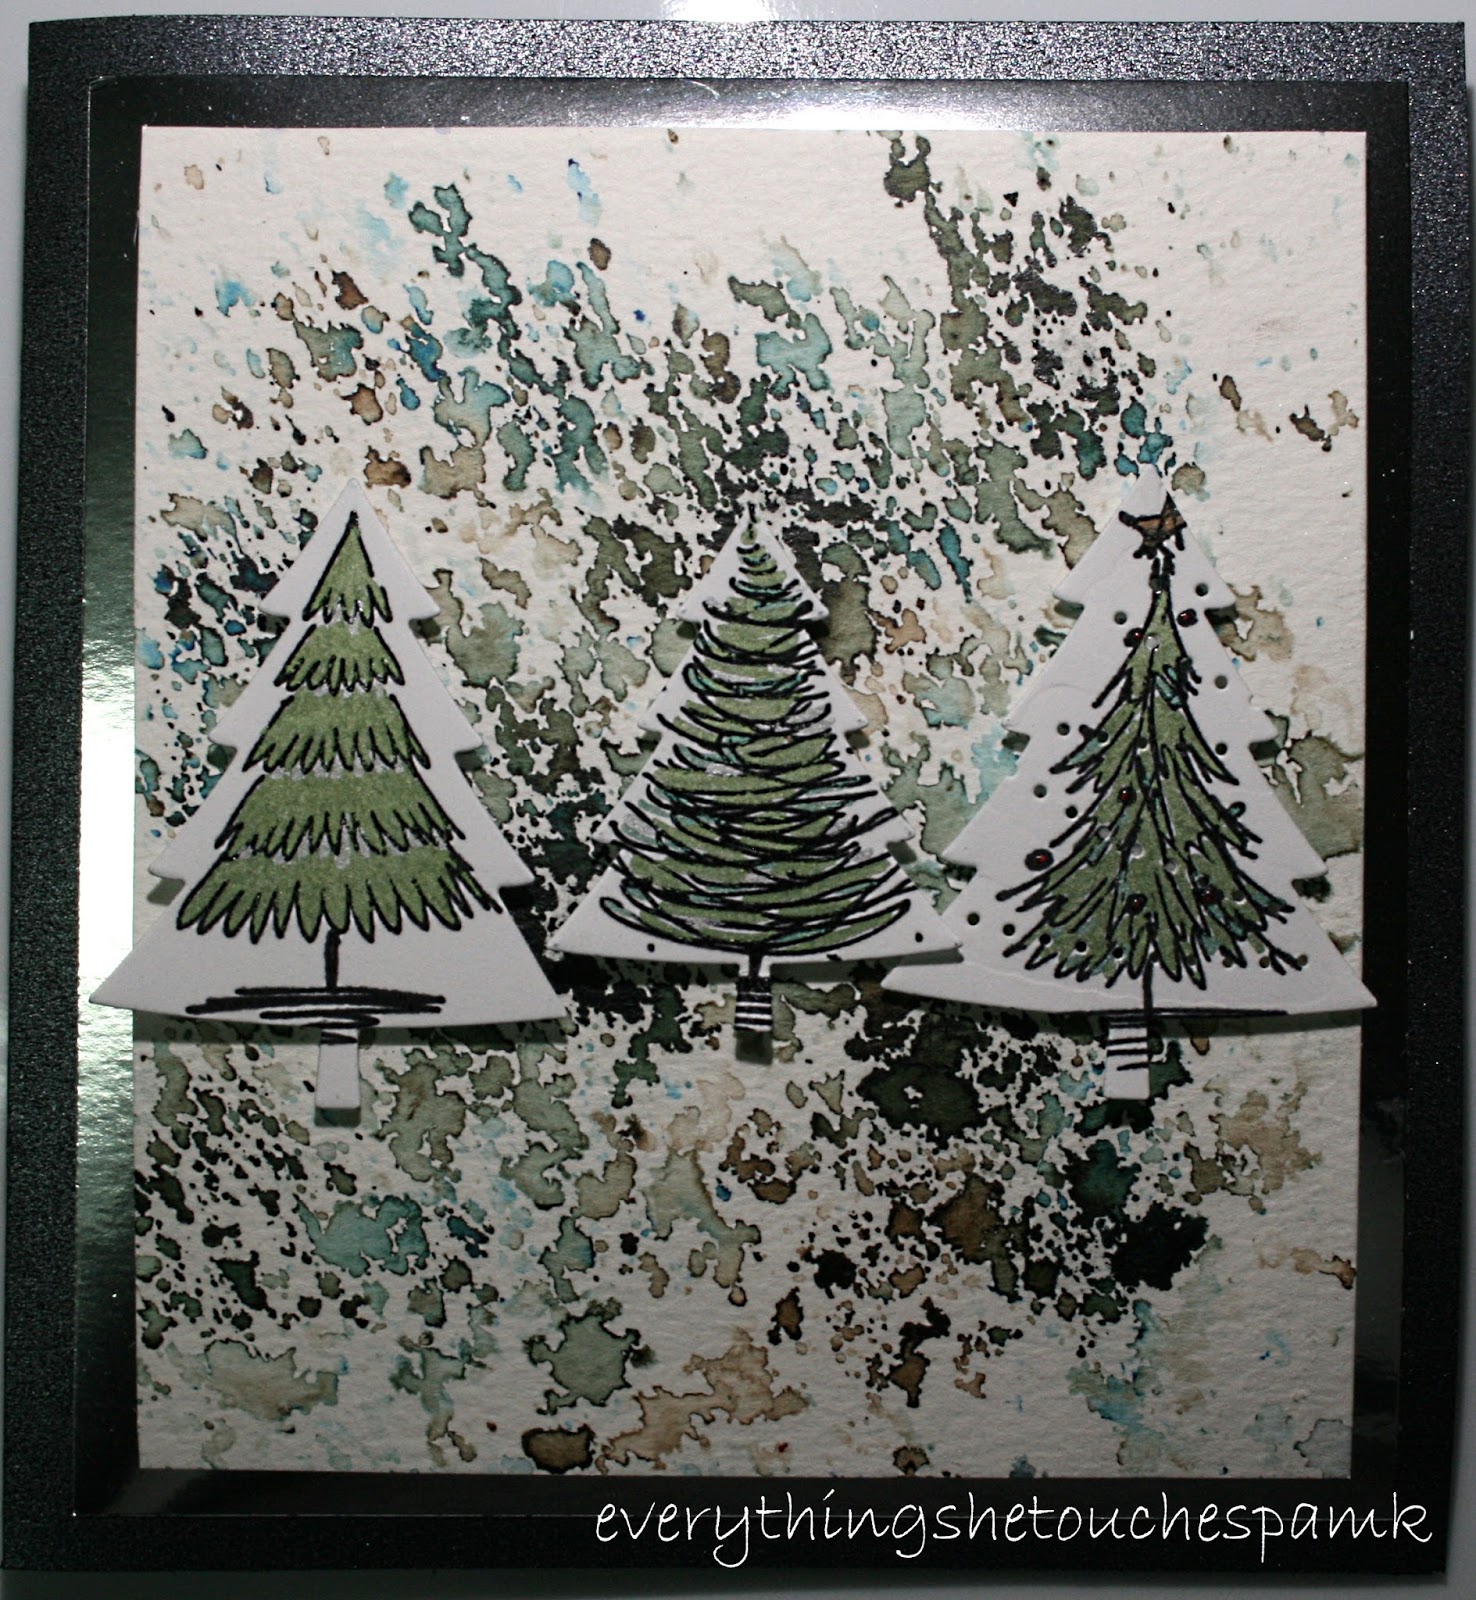
I am entering this home for the holiday card in Emerald Creek's Happy Holidays Anything Goes Challenge.

Keep getting messy!

Sunday, 28 August 2016

12 tags of 2016 - august

Here is tim holtz's august 2016 tag:


And here is my version:


I finished the tag by the second week of August and I thought about pulling out the sewing machine.  Many times.  But it never happened.  And then I thought about doodling on the stitches and I came to the conclusion that if it was not the real deal it shouldn't happen.  I also was not 100% certain that I wanted to fill every spot on the tag.  I can see you all shaking your head.  Yes.  I showed some restraint.  It's progress.

Here are some close-up photos of the top bird, middle bird (oi.  I'm not giving you the middle bird.  It is all about posturing and by coincidence he turned out a bit blurry) and bottom bird.


I just came back from a fabulous gelli plate class and pulled 35 amazing prints.  The plan is to share the prints with you, my blogosphere friends, over the next few weeks and journey the adventure as they turn into journal pages for a trip we took to the Caribbean a little while ago.

Keep getting messy!

Sunday, 7 August 2016

ever tried. ever failed. no matter. try again. fail again. fail better - samuel beckett

Blogosphere friends, you will have noticed that I wasn't the successful picture this! challenge blog design team member this time.  Don't fret.  It wasn't my time and I will keep trying.

This was the moodboard that inspired me to design a layout filled with aqua and pink bubbles.  As you know, I love bubbles and will add bubbles and circles to everything if it wasn't just plain odd.


I adore Audrey's elegance and style and have been using photos of her in some of my layouts and journal pages.  I have been waiting to find the right inspiration to use this photo and design this layout.


I love using bead paste and see it appearing more often in my work.  And I love creating embossed inked backgrounds.  You'll see this technique in quite a few of my other recent projects.


I am submitting this layout in the august 1st picture this! challenge: moodboard.

Sunday, 24 July 2016

the traveler sees what he sees, the tourist sees what he has come to see - gilbert k. chesterton

Participating in this month's tim holtz 12 tags of 2016.

This is mr. holtz's inspiration:

And here's my version:


I had so much fun making the july tag that I decided to make a second tag with a slight twist.  For the second tag I added gesso to the tag first and removed the distress stain (broken china, cracked pistachio, hickory smoke, stormy sky) through a stencil (carta bella vintage airplane).  I die cut the word travel (tim holtz thinlit die adventure words script) and added a piece of burlap behind the tag and the journal word world to the bottom front.  I watercolour-resisted the globe (tim holtz schoolhouse blueprint stamps), added some staples to the top and bottom of the watercolour piece and wrapped the tag in thick twine.  Through the twine I wove chain and attached let's get lost and pack your bags charms with thinner twine.


Have fun, keep crafting and get messy blogosphere friends.

Sunday, 3 July 2016

hope is the only bee that makes honey without flowers - robert green ingersoll

I love using faber-castell gelatos to create a watercolour palette.  It's easy to get depth and subtle colour transitions when using rich and creamy gelatos.

I stamped tim holtz flower garden onto watercolour paper in white permanent ink and white embossed the images to give them definition.  I used watermelon, metallic melon and bubble gum gelatos to fill in each of the flowers.  The background is a boxed card set that I bought at michaels.  These boxed card and envelope sets (I'm sure you've seen them - huge boxes of cards and envelopes) really help out when you need to create a whole bunch of cards at once in a jiffy.  Especially when you're like me and love creating multi-layered cards but have a limited amount of time.


Here's a closer look at the watercoloured flowers.  There are a few ways to use gelatos to get different results; my favourite, hands down, is this technique: take your gelato, smash a bit of the tip onto your craft mat, dip your paintbrush into water and mix it with the gelato colour.  Like all watercolours, the more water you use the lighter the colour, the less water you use the darker the colour.  Try layering different colours onto an image and then go back (it doesn't need to be perfectly dry; gelatos on watercolour paper dries really quickly anyway - if you haven't used a ton of water) and add more colour with less water.  You'll find that the colour depth you can create is phenomenal.  And it's so much fun.


Get messy.  Have fun.  See you back here soon.

Friday, 1 July 2016

you can't stay in your corner of the forest waiting for others to come to you. you have to go to them sometimes - a. a. milne

Oi.  It's been five months since I've posted anything on the blog.  I'm not sure why I have found it difficult to post regularly (Instagram is feeling almost the same level of neglect).  Maybe it's just a matter of paying more attention to posting once the photos are snapped.

The post neglect is not for lack of crafting, that's for sure.  I have been a little crafting chipmunk.  Busy, busy, busy.  Which means one thing friends, you're in for a craft downpour here on everythingshetouches.  A craft downpour.

I created the background of this birthday card using bisters and tim holtz flower garden stamps.  The layered forest is a memory box series of dies: grand forest archway, medium forest archway and small forest archway.  Makes for a gorgeous layered forest, no?


The focal stamp is santoro mirabelle tell me something.  I'm obsessed with everything santoro.  My collection of mirabelle and gorjuss is outrageous.  I think they are simply elegant, beautiful and diverse stamps.  And yes, very easy and fun to work with.


Here's a better view of the background.  Bisters on watercolour paper equals gorgeous and quick backgrounds for any paper craft - cards, scrapbook, memory book or mixed media.  Amazing.  And I'm hooked.

Stay tuned folks.  More rain to come ..

Sunday, 7 February 2016

a happy twinkie birthday

Twinkie is one of those precious little Stampotique stamps that make me so happy.  His joy is infectious.  I made this birthday card for one of Alex's friends at school.

The brick wall was embossed on gold mirror paper and coloured in with permanent markers.  Tim's crazy bird accessory presents were also stamped, cut and coloured in using gold mirror paper.

The background was torn from an old book now used for .. well, my crafting amusement and eventually a memory book (whenever I get around to it).


I'm entering Twinkie in the:


Sunday, 24 January 2016

interpretation of tim holtz's 12 tags of 2016 - technique remix - january

2016TAG
 
I had to make some paint adjustments because I realized that I do not own black soot distress paint as I pulled out my tools in preparation to make this tag.  I know.  I was pretty shocked myself.  It took me a good half hour of searching in a state of disbelief to concede that I would need to find a decent, but different, replacement; raw umber and black acrylic (sorry, you might not be black soot but you're both very dear to my craftiness).
 
I also went with the most adorable robot stamps and complementary gear embossing folder. 
 
This was my first attempt (you're seeing public version number 2; I had to make an adjustment to my choice of embossing powder.  When Tim Holtz says use this particular embossing powder because it works you should listen and not get distracted by watching Hell on Wheels on the telly) at the chalkboard technique.
 
I added a few fun embellishments and some copper outlining which works well with the raw umber.
 
And here it is, my interpretation of the January 2016 tag:
 
 
Today is my birthday and I want to thank my amazing friend for the most incredible birthday gift.  It is truly a thoughtful gift and I cannot wait to free it from its packaging, warm it up and create something crafty. 


Friday, 15 January 2016

inspiration sticks

I found this idea on Facebook.  I have always struggled with a blank journal page and I really like the idea of having at least some parameters or some items not left up to chance.  The inspiration sticks posted on Facebook were really stunning with a framed circular top and fantastic designs along the sticks.  As a perfectionist with enormous fear that I would mess up terribly and have to redo a bunch of sticks (which, by the way, took a much longer time than I originally thought) I created something that is very much my style but with limited room for error.


I painted each stick with acrylic paint, added some washi tape (the glasses are very me), added the inspiration and sealed it with gel medium.  I left the tops with their original wood finish, added tissue paper and sealed it with gel medium as well.   Sounds simple, right?  Well all of those layers multiplied by 35 inspirations took more than a few days to finish.  The process was amazing fun and I'm super pleased with how it all turned out.


I'm right in the middle of the Valentine's Day swap with the stamp club: 45 cards in progress but if I start to run out of steam I might just take some time to give these little ones a good test run.


What inspires you when journaling?  I would love to hear how you overcome the blank journal page.

Thursday, 31 December 2015

holiday cards 2015

2015 was a very interesting and challenging year in my personal life and I'm not sorry to see it all end.  Have I been able to learn from the challenges?  Mostly, yes.  I think I've changed a great deal this year; mainly for the better.

I haven't really given 2016 a lot of thought yet, however, I do have some exciting new projects coming up in the first part of the year that I will share and I have decided that crafting needs to be more of  a marathon than a sprint.  Crafting in 2015 came and went in huge bursts of energy and frenzy.  I'm still a member of the stamping club and creating for 40-something members had been a bit of an endeavor with long bouts of rest and breaks from crafting in between.  It has been just like a swimmer coming to the end of the race, for which she was unprepared, and gulping for air until the next race.

Here are the card templates for the 2015 holiday season.  There are two versions of the light garlands; one without any additions and a second with stickles and glossy accents.


Happy New Year fellow blogospere friends.  I wish you and your families and your friends all the very best in 2016.  And have a very crafty new year.

a twinkie and mirror paper birthday

I crafted this card for a little guy who turned six this year.  Thought Twinkie had the right amount of enthusiasm.


I have taken to colouring on mirror paper lately and I strongly recommend you give it a go.  It's quick, simple and the results are spectacular.  Add a little glossy accents and the final product has tremendous wow factor.

it is not the strongest or the most intelligent of the species that survives, it is the one that is most adaptable to change - charles darwin

I created this steampunk mixed media card for a friend who is very much obsessed with everything steampunk.


This was definitely a fun card to build: so much mess! (Yes, short text means I'm pushing through to get all the 2015 projects posted before the year ends)

Thursday, 16 July 2015

thank you for helping me grow

Last year Alex and I borrowed a fellow blogosphere friend's idea for teacher gifts and because we're at an entirely new school this year I decided to go with the same idea (Alex helped decorate the flower pots and he made the tie-dye t-shirt).


It's a fun easy and inexpensive project.  Before painting I like to apply a layer of gesso even though the acrylic paint has pretty good coverage.  The gesso just makes the application of paint easier and apply more evenly.
 
I taped off the bottom to allow for nice clean lines.  And then with permanent marker, Alex decorated the flower pots and chose begonias for planting.
 
 
I inked the base of the manila tags with distress inks (twisted citron, cracked pistachio, peacock feathers, abandoned coral, worn lipstick and victorian velvet)and added bokeh circles with white permanent ink.  I then layered on tim holtz tissue wrap (mélange), added the dina wakley silhouetted women stamp, banner and thank you sentiment (tim holtz thinlit dies celebration: script).

I found the adorable music box at Chapters.  Alex's music teacher had taught the class the words to what a wonderful world this year.  It was a perfect find, and addition, to our thank you gift.


This is definitely a quick and easy little gift to say thank you to someone special in your life or for no other reason than to bring a bit of colour and happiness to their day xx